My local club has had some ups and downs over the last few years. We switched to sharing reports and pictures on Facebook, which is both good and bad. The good part of that is more people, in theory, can "see" those reports. The bad side to Facebook is that there is a less accessible record of our games.
In truth, I have less free time to create these blog reports so that is the primary reason I have been silent. However, I am going to try and post something here a bit more often...
Friday, June 05, 2020

Wednesday, February 10, 2016
Battle Report on Cadzand 1809
Date played: 6 February 2016
Rules: General de Brigade Deluxe
Turns: @14 Turns
Time: 10:00am to 3:00pm
Rules: General de Brigade Deluxe
Turns: @14 Turns
Time: 10:00am to 3:00pm
 |
| General course of the battle
Mike and Jeff took command of the British forces with Jeff acting as overall commander (Huntly). I commanded the polyglot French force of Monnet. The British created a new cavalry brigade by putting the 12th Light Dragoons under the AdC Rosslyn. With the forces set out, the British quickly set off.
A rapid general advance saw the British get into firing range very quickly. The only bright spot for Monnet's men was the exceedingly accurate counter-battery fire of the French Horse Artillery against the British Foot Battery. The British guns lost 1/3 of their strength soon after the battle opened. This caused the British artillery to linger far behind the infantry for the entire battle as the British did not want to lose what little artillery support that they had.
The brigades of Stewart and Alten arrived before the French lines first and opened a deadly fusillade of skirmish fire on Wagner's infantry. Soon after that, the British brigades of Dyott and Rice hit the French troops under Lawless. After scoring numerous hits with their first volleys, the British accuracy faded for much of the rest of the game. Below average dice rolling caused the British volleys to lose much of their sting.
Eventually, Mike was able to cross the ditches and launch a cavalry charge with the British Dragoons. They lost the combat with the French Dragoons and went streaming back throwing the British right wing into disarray. After sorting things out, the British again charged into melee with the KGL Hussars against the Dutch Hussars. Surprisingly, the Dutch Hussars repulsed the KGL horsemen and pushed them back too.
The French brigades continued to blast away at the British lines inflicting casualties at a steady rate. Alten's British troops suffered heavy losses and had to pass a Brigade Test in order to remain on the field. Failing that test was probably the best chance for the French to score enough British losses to win the game - but the British passed the test.
Eventually, the superiority of the British side began to tell. French units began to crumble under the effects of heavy casualties. A British volley put the cavalry commander Maschek into a panic and he ran from the field (a 2 result on the DOUBLE SIX chart). A cavalry charge by the British 12th Light Dragoons smashed the remnants of Lawless's French brigade. Wagner's brigade was battered but holding firm. With the right flank turned, a leaderless cavalry brigade, and now significantly outnumbered the French troops began a withdrawal leaving the British as victors on the day.
French losses had been heavy, as expected, with the loss of @40% of their infantry lost. The French cavalry was still in good shape but left with no room to operate. The British had lost 29% of their force. Close to the 33% amount needed to trigger a British retreat that would have given victory to the French. This was a tense battle as mounting casualties influenced the actions of units on both sides.
If anyone tries this scenario I would really like to hear how your game goes!
|
Scenario for Napoleonics Cadzand 1809
Here is the scenario for our most recent Napoleonic game. The original scenario comes from the EXCELLENT Battles For Empire (http://www.napoleonbooks.com/battles_for_empire.html) by James Arnold. I have modified it to fit with our preferred rules General de Brigade. Unit strengths and some command structures were modified to match up to our figure collections.
Cadzand
Isle 2 August 1809
In July 1809 the
British Navy transported 40,000 Army troops to land on the Dutch
coast. This was an effort to drain French units away from the
Austrian Campaign and to shatter the coastal defenses of this section
of Napoleon's Empire. The expedition suffered from many obstacles and
ultimately failed. Poor weather, difficult terrain, well sited
defenses, and indecisive British leadership combined to rescue the
unprepared French from defeat. Much of the British failure can be
traced to Lord Huntley's slow advance on Antwerp. The key to a rapid
advance was the French held defenses at Cadzand. Lord Huntley had
deemed it impractical to even initiate an attack on Cadzand's Heavy
Batteries due to unexpected French reinforcements. This failure to
act quickly stalled the British drive on Antwerp and doomed the
entire affair to failure.
Our scenario
supposes the British assault on Cadzand is implemented in a timely
manner. The British units are those actually slated for the attack
with some small units combined for our rules. The Franco-Dutch forces
are likewise amalgamations of units present at the island.
Terrain:
Flood Control
Ditches – Minor obstacles treated as difficult terrain. All
unit types may cross the ditches by paying the terrain penalty. No
charge moves may cross a flood control ditch. No unit may finish its
move in the flood ditch. There is no cover modifier for the ditches.
Woods –
Difficult terrain per the book. These are sparse woods so sighting
distance into/out of them is 6”. Woods offer a COVER -2 modifier.
Dike – The
dikes are much like an earthwork for military purposes. Dikes offer
a HARD COVER -4 modifier against musketry and artillery. Dikes cannot
be reduced within the time frame of this game.
Village –
The village can hold up to 1 battalion of 24 figures. The village
gives a HARD COVER -4 modifier against gun fire.
Redoubts –
The redoubts are treated as HARD COVER -4 to their front but offer no
cover to attack from the open rear face.
Roads – Due
to the sandy soil and frequent flooding, there are no roads of any
military benefit.
Victory:
The British must
capture Breskens Naval Batteries with no more than 33% casualties.
Figures counted as dead or routed are the only ones who count towards
the 33% condition. When Lord Huntly determines that his force has
suffered 33% casualties then he will immediately call a retreat as he
cannot risk so much of his force. The French can disregard casualties
as far victory conditions are concerned.
Lord
Huntly's Contingent
General
Huntly (Poor)
ADC
Lt General Lord Rosslyn (AVG)
Light
Division
|
1st Brigade General Stewart (Excellent) |
|||
|
Regiment
|
Strength
|
Rating
|
Skirmish
|
|
43rd
|
24
|
VET
|
1st RATE
|
|
52nd
|
24
|
ELITE
|
1st RATE
|
|
95th
|
16
|
ELITE
|
1st RATE
|
|
2nd Brigade General Alten (Excellent) |
|||
|
Regiment
|
Strength
|
Rating
|
Skirmish
|
|
1st KGL Light |
24
|
LINE
|
1st RATE
|
|
2nd KGL Light |
24
|
LINE
|
1st RATE
|
|
Cavalry Brigade General Linsingen (AVG) |
|||
|
Regiment
|
Strength
|
Rating
|
Skirmish
|
|
3rd Dragoons |
12
|
VET
|
N/A
|
|
12th Light Dragoons |
12
|
VET
|
N/A
|
|
2nd KGL Hussars |
12
|
VET
|
N/A
|
1st
Infantry Division
|
1st Brigade General Dyott (AVG) |
|||
|
Regiment
|
Strength
|
Rating
|
Skirmish
|
|
6th
|
24
|
VET
|
N/A
|
|
50th
|
24
|
VET
|
N/A
|
|
91st
|
24
|
VET
|
N/A
|
|
2nd Brigade General Rice (Excellent) |
|||
|
Regiment
|
Strength
|
Rating
|
Skirmish
|
|
9th
|
24
|
VET
|
N/A
|
|
38th
|
24
|
VET
|
N/A
|
|
42nd |
24
|
VET
|
N/A
|
|
6lb Foot Artillery |
3 Sections
|
VET
|
N/A
|
Monnet's
Defenders
General
Louis Monnet (AVG)
2 AdC
(?)
|
1st Brigade Col. Wagner (Excellent)
|
|||
|
Regiment
|
Strength
|
Rating
|
Skirmish
|
|
4th Dutch Infantry
|
24
|
LINE
|
N/A
|
|
5th Dutch Infantry
|
2 Bns of 24 each
|
LINE
|
N/A
|
|
1st National Guard
|
24
|
LINE
|
N/A
|
|
2nd National Guard
|
24
|
2nd LINE
|
N/A
|
|
3rd National Guard
|
24
|
2nd LINE
|
N/A
|
|
2nd Brigade Capt. William Lawless
(Excellent)
|
|||
|
Regiment
|
Strength
|
Rating
|
Skirmish
|
|
Veterans Guard
|
24
|
LINE
|
N/A
|
|
3rd Foreign Regiment (IRISH)
|
24
|
LINE
|
N/A
|
|
4th Foreign Regiment (PRUSSIAN)
|
24
|
Conscripts
|
N/A
|
|
Provisional Battalion
|
24
|
Conscripts
|
N/A
|
|
Naval Artificers/Gendarmes
|
24
|
Conscripts
|
N/A
|
|
Cavalry Brigade General Maschek (AVG) |
|||
|
Regiment
|
Strength
|
Rating
|
Skirmish
|
|
2nd Dutch Hussars |
12
|
VET
|
N/A
|
|
Dragoons de Marche |
12
|
LINE
|
N/A
|
|
Hussars de Marche |
12
|
LINE
|
N/A
|
|
4lb Horse Artillery |
3 Sections
|
VET
|
N/A
|
 |
| Map of initial deployments |
Sunday, January 03, 2016
2016 and a Blog rededication
Much has happened in the time since my last post on this blog. Life got very busy for me and my family so there simply wasn't enough time to make postings telling the tales of my wargaming adventures. However, I have decided to make time in my schedule to update this blog once more. My goal is to post something each month in order to keep me motivated and painting figures once more.
I have been playing games regularly over the past year so I will cheat and do a photo dump as my January posting. Look for that soon. After that... it should be new content.
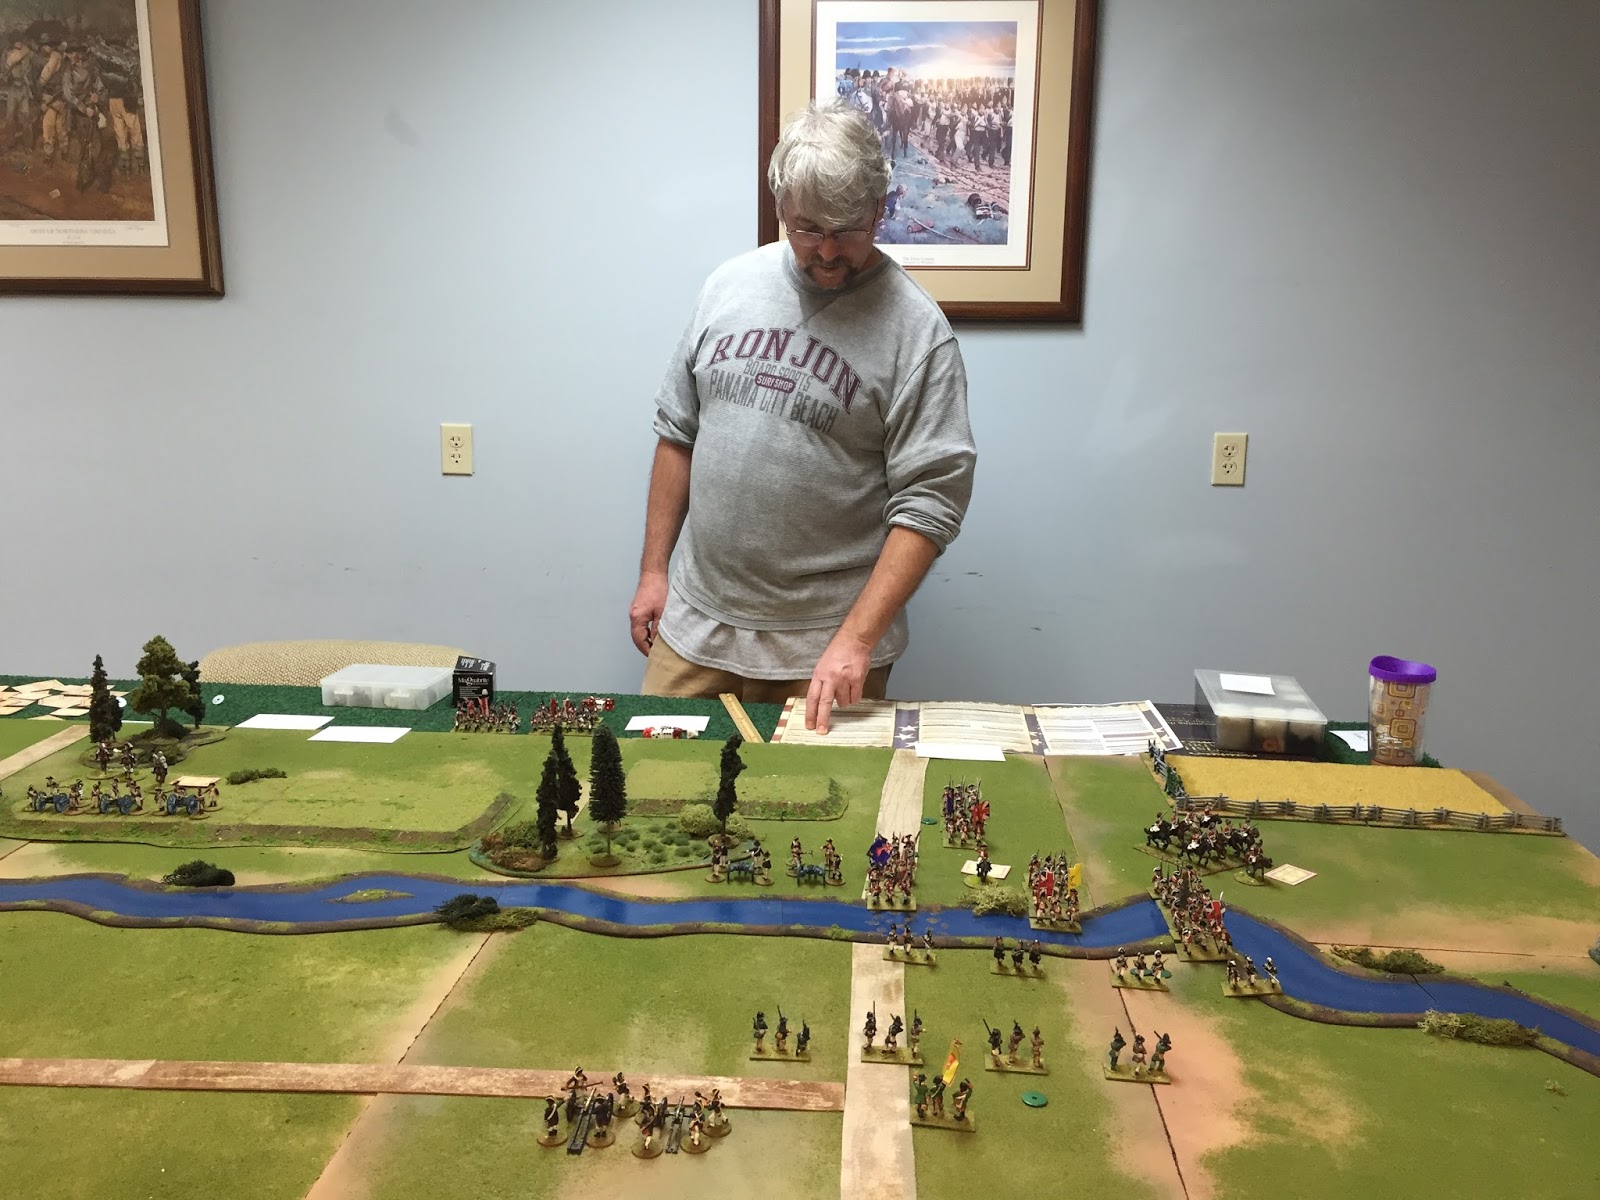
Until then, here are a few shots of our last game of 2015. The Battle of Brandywine 1777



I have been playing games regularly over the past year so I will cheat and do a photo dump as my January posting. Look for that soon. After that... it should be new content.
Until then, here are a few shots of our last game of 2015. The Battle of Brandywine 1777



Wednesday, October 01, 2014
New Beginnings
Wargaming-wise, it has been a bit of a "lost summer" for me and my regular gaming friends. Due to a variety of reasons we were not able to meet with any regularity. Then, to really complicate matters, we lost our rental space that has been the home to our gaming group since the 1970s! Luckily, a new space was found quickly and we have moved to a newer home.
We are looking forward to gaming in our new home and we are assessing the usefulness of extending our venerable old gaming table from 14 feet length to @ 18 feet of length. The argument is that it will give us more open space on the flanks of our battles. The reality is that it will be a strong, too strong I fear, temptation to add more units to our games... we will see what happens! :)
We should start playing more regularly in October now that we have secured our new club location and our children's soccer seasons are finishing up. Nothing like rushing from coaching a bunch of 5 year old soccer stars to go sit at a wargaming table to throw your Saturday off kilter!
Here are a few cell phone photos from our farewell game played at our old club on September 13th. I have lost my notes about the game that we played. All I can tell you is that it was a section from the Leipzig battle. My Saxon friends were on the left of our line and I tried, unsuccessfully, to hold the village on the right of our lines.


We are looking forward to gaming in our new home and we are assessing the usefulness of extending our venerable old gaming table from 14 feet length to @ 18 feet of length. The argument is that it will give us more open space on the flanks of our battles. The reality is that it will be a strong, too strong I fear, temptation to add more units to our games... we will see what happens! :)
We should start playing more regularly in October now that we have secured our new club location and our children's soccer seasons are finishing up. Nothing like rushing from coaching a bunch of 5 year old soccer stars to go sit at a wargaming table to throw your Saturday off kilter!
Here are a few cell phone photos from our farewell game played at our old club on September 13th. I have lost my notes about the game that we played. All I can tell you is that it was a section from the Leipzig battle. My Saxon friends were on the left of our line and I tried, unsuccessfully, to hold the village on the right of our lines.
Wednesday, July 02, 2014
Slodka Woda Pictures
Here are a few photos, many are blurry, of the recent Napoleonic game.
 |
| Looking in from the French left wing. |
 |
| French units approach town. |
 |
| French artillery moving towards deployment area to right of village. |
 |
| French right wing prepares to advance. |
 |
| Russian 3rd Brigade flanking Slodka Woda. |
 |
| Russians sheltering behind village. |
 |
| French (Polish) light cavalry trying to look threatening to advancing Russians. |
 |
| Same unit. |
 |
| Armonde's men trying to stave off the Russian advance. |
 |
| Russians from their 3rd Brigade. |
 |
| Russian dragoons charging Armonde's artillery while the French cavalry hurls itself into the Russians. |
 |
| French cavalry just prior to dispersing due to Russian musketry. |
Slodka Woda Report
Rules: General de Brigade Deluxe
Turns: @14 Turns played
Time: 10:30am to 3:00pm
For once, trying something a bit
different worked out pretty well...
Rolling for objectives provided a bit
of mystery as each side wasn't quite sure what the other fellows were
up to as our units began to maneuver. The Russians, it was later
revealed, rolled a 2 and a 6 giving them the target of the hill on
the French left side as well as the imaginary point in the center of our
rear area. The French had to take the farm on our right wing and take
the imaginary center point marker at the rear of the Russian lines
from rolls of 2 and 5.
Prior to battle each side had used our
point allotment to build the forces brought to battle. Both sides
chose two batteries of artillery while the Russians added much more
cavalry than the French could afford. The French had 1 more battalion
of infantry. The French had this...
France
CiC = Free
2 batteries = 2 x 90 = 180
7 line infantry = 7x50 = 350
3 legere veteran = 3x72 = 216
1 Light Cavalry (12) veteran = 54
brigade general = 4x50 = 200
-----------------
1000
GdD Lagrange
1st Brigade
GdB Armonde
1 Bn Legere (Veteran)
3 Bn Ligne (Line)
2nd Brigade GdB Bouchard
1 Bn Legere (Veteran)
2 Bn Ligne (Line)
1 Battery/3 Sections 8lb Foot Artillery (Line)
3rd Brigade GdB Corbineau
1 Bn Legere (Veteran)
2 Bn Ligne (Line)
1 Battery/3 Sections 8lb Foot Artillery (Line)
Cavalry Brigade GdB Desjardin
8th Chasseurs a Cheval (Veteran) (12 Figures)While the Russians had something like...
General
1st Brigade
3 Line Infantry
2nd Brigade
3 Line Infantry
1 Battery/4 Sections 8lb Foot
3rd Brigade
3 Line Infantry
1 Battery/4 Sections 8lb Foot
Heavy Cavalry Brigade
Dragoons (24 figures!!)
Light Cavalry Brigade
Uhlans (12 Figures)
 |
With our objectives in mind, Gary led Corbineau's brigade to take possession of the Koza Farm. With no Russians there he was able to take it within a few turns. It took him a few turns because he neglected to use the Tactical March Rule that would have allowed him to take the farm in 1 to 2 turns with a rapid move. That would have allowed him to sweep around the Russian's left wing much more quickly.
Meanwhile, Armonde's and Bouchard's brigades moved forward with each soon deploying their artillery to pound the Russian infantry brigades to their front. The Russian 1st Brigade set itself to hold a line from the town to the hill while the 2nd Brigade, supported by that heavy cavalry(!), pushed against Armonde's troops.
While that was going on, the Russian 3rd Brigade and Light Cavalry moved to threaten Armonde's left flank by setting up artillery on the road. This forced me to withdraw Armonde's units and allowed the Russian 2nd Brigade to move into the area between Slodka Woda and the woods on our left. A lengthy firefight ensued between Armonde and Russian 2nd Brigade while the Heavy Cavalry deployed as the Russian's "second line". As that was happening, the Russian 3rd Brigade moved through the woods and took the hill on our left. The Russian Light Cavalry continued to move further around our left wing.
Back in the center, Bouchard's artillery and skirmishers were shredding the Russian 1st Brigade while Corbineau finally got new orders that allowed him to push around our right wing and begin to add fire against the flagging Russian 1st Brigade. Soon, the Russian 1st Brigade began to suffer broken units and failed a Brigade Test. Unlucky from a French perspective, since the Russians retreated right onto our second victory location and quickly reformed.
On the left wing things were coming to a conclusion. Under a hail of musketry and artillery, one of the infantry battalions in Russian 2nd Brigade DISPERSED. Normally, this would be good news for the French! However, in this case it only opened up the hole that the Russians had been waiting for. The Russian Dragoons swept forward to win the day. But luck was with the Frenchmen, for a while, as the Russian cavalry twice failed to close due to the shockingly good fire fire the French poured into them. However, with a unit so large that it could absorb casualties and still be a threat, the Russians charged a third time and smashed Armonde's artillery and forced his infantry into squares. As this was occurring, Desjardin's horsemen were involved in a series of charges against the Russian 3rd Brigade and their Light Cavalry. These charges delayed the Russians for a while but Desjardin's troops were DISPERSED as a result.
At this point the battle ended as a narrow Russian win because they had moved onto both victory points while the French had another 2 turns of work to do to take our second victory point.
|
Monday, June 30, 2014
Napoleonic Scenario: Slodka Woda 1807
Action at Slodka Woda 1807
An utterly fictional scenario for General de Brigade
I needed to put together a scenario quickly for this week's Napoleonic gaming at the club. So, I took the easy way out... a points game using GdB Deluxe. Each
side gets a CiC and 1000 points to compose a force. This meeting
engagement will take place in Poland during the 1807 Campaign and pit my French against Mike's Russians.
Continuing with the idea of leaving the scenario open-ended, I whipped up a chart to determine victory conditions. By keeping those objectives secret, I hoped to build a bit of tension for the players as they tried to complete their missions while, possibly, denying the enemy his objectives.
Each side gets an AVERAGE Commander in Chief and 1000 points to buy all other officers, infantry, cavalry and artillery.
Each side rolls to determine 2
objectives to be designated as their victory conditions.
- Seize, and hold, village of Slodka Woda.
- Seize the victory point in enemy rear area. Center of enemy rear 24” from table edge.
- Destroy 1 enemy brigade through casualties or rout.
- Destroy all enemy artillery through casualties or rout.
- Seize the Koza farmstead.
- Seize, and hold, the high ground on the enemy side of the road.
 |
| Battlefield Map |
Terrain Notes
The Village – Slodka Woda will hold 1 battalion of 24 figures and
counts as COVER -2. Village can be reduced to NO COVER with 8 points of
artillery damge.
The Hills – All hills are GOOD TERRAIN and do not modify movement in
any way. Line of sight is blocked by hills.
The Woods – All woods are DIFFICULT TERRAIN. All woods are light
woods with 6” visibility.
The Roads – All roads offer x2 speed for INFANTRY units in MARCH
COLUMN that spend the entire move on the roads.
Thursday, June 19, 2014
Ware Bottom Report
Ware Bottom Church Report
Played: June 14th 10am to 2:45pm
Length: Played @12 turns
Commanders: USA Jeff (Hawley), Gary (Howell), Carl (Plaisted) vs. CSA Mike (Lewis and Terry) and myself (Ransom and Corse)
Mike led the Confederate side while Jeff acted as the Union commander. The battle began with Lewis and Terry's Confederates occupying the hasty works/rifle pits/skirmish line on the Union side of the creek. When the game opened, both sides surged forward as the Union attempted to seize the line back and the Confederates tried to reinforce the thinly held ground just over the creek.
Luck was not with the Confederates as the Union troops repeatedly unleashed crushing volleys while the Southerners seemed suffered many rounds of poor shooting. Combined with local superiority of numbers, the Federal fire quickly whittled down the Confederate brigades. The brigades of Ransom and Corse moved into the middle and then failed to do much thereafter. Corse's brigade suffered badly in the firefights with Plaisted's Union men and spent much of the game with most of the brigade's units FALTERING. This took away any hope of Corse's men driving a wedge between Hawley's and Plaisted's Union brigades.
The battle quickly degenerated into a lopsided firefight as Lewis's CSA brigade was torn asunder by Howell's blue coated regiments. By the end of the battle, Lewis was dead and his brigade wiped from the table. Corse's brigade was in bad shape and teetering on breaking. With the grey clad line battered and wavering, a general withdrawal was called for by the Confederate commander.
This was a Union victory with light casualties on the Federal regiments (less than 10%) while the Confederates suffered badly (@ 25 to 30%).

Tuesday, June 17, 2014
New Scenario: Ware Bottom Church 1864
It was my turn to put on the scenario at our club this past weekend. At the last game I volunteered to lay on the next battle. I had decided to do an ACW game but became stumped as to what battle the game should be set in. It turns out that leaving it until a few days prior to the game does not help one create a better scenario! I found a nice framework for a series of battles from the Bermuda Hundred campaign. I suggest you stop in at Wargames Vault (http://www.wargamevault.com/index.php) if you want to find this nice little packet called "In Command: Bermuda Hundred Campaign. The background info given below came straight from the packet by Potomac Publications. All the rest of this mess is my own doing...
Scenario: Ware Bottom Church
Scale: 28mm
Rules: Guns at Gettysburg
This scenario is the result of a lot of sketchy details combined with some educated guesses. My short research turned up little in the way of a “real” map of the battle so the battlefield is conjectural. The CSA units involved are a guess as to who was actually fighting Terry's Union men on that day. Overall, it's likely a pretty good representation of the northern portion of the battle but it could stand much more research!
Most of the brigades have been modified from their historical composition for the sake of making putting units onto the wargame table. CSA brigade strengths are fairly realistic but regiments have been combined to create our standard size units. The USA brigades likewise have realistic overall strengths but some of their regiments have been divided to create “standard” units. Union units marked (f) on the Order of Battle are fictional units created to represent proper brigade strength while conforming to our wargaming unit organizations. See
The ground is likely a bit more difficult than we are representing in that it was likely a bit more overgrown and wet than our game table.
Ware Bottom Church
20 May 1864
Bermuda Hundred Campaign
Background:
For the campaigning season of 1864 Ulysses S. Grant planned to defeat the Confederacy by powerful offensives all along its extensive borders. One of the most important missions, the capture of the Rebel capital, was given to Major General Benjamin Butler. Butler’s newly formed Army of the James was to land at Bermuda Hundred, a peninsular close to the Confederate capital, and strike
swiftly inland while Grant occupied the attention of the main Confederate field army under Lee. The initial landings went according to plan and within a few days the Federals were in a position to threaten the important rail junction of Petersburg as well as Richmond.
Unfortunately for the Union cause Butler became confused about his objective and spent almost a week in fruitless skirmishing with a growing Confederate resistance. By May 12 Butler was at last prepared to advance on Richmond, he left a covering force facing Petersburg and moved with the remainder of his forces on the Rebel stronghold at Drewry’s Bluff. On the Confederate side General Pierre Beauregard had been trying of organize a creditable defense ever since the Union landing. At first almost nothing stood in Butler’s path should he strike at either Richmond or Petersburg, but taking advantage of Butler’s vacillation Beauregard slowly built up a respectable force of veteran brigades. As the Federals blundered towards the Drewry’s Bluff fortifications Beauregard had gathered enough strength to begin thinking about taking the offensive. An audacious plan to destroy Butler’s army was conceived, Beauregard would attack frontally while another Confederate force under Major General William Whiting would move on the Federal rear from Petersburg. These actions resulted in the battle of Drewry’s Bluff on May 16. Although Whiting never did manage to seriously threaten the Union rear, Beauregard’s attack so frightened Butler as to cause him to withdraw his army back towards their entrenchment’s at Bermuda Hundred.
On May 20 the Confederates assaulted the Union lines at Bermuda Hundred, overrunning the outlying rifle pits the Rebels almost broke through, however hard fighting and Federal reinforcements eventually beat off the attack. Nonetheless the result underlined the fact that Butler’s army was now confined to its defenses and no longer a serious threat to the Confederate capital. Butler argued that he was keeping valuable enemy forces occupied which would otherwise be facing Grant in his overland campaign. This was untrue however and by May 27 Grant required men more than Butler and began the reduction of his army, a corresponding reduction took place within the Confederate lines and the surplus sent to reinforce the Army of Northern Virginia. In Grant’s words, Butler was “in a bottle strongly corked.”
Scenario:
Our scenario depicts a portion of the battle at Ware Bottom Church on 20 May 1864. The Confederates have attacked the Union picket line at Ware Bottom Church and the Union troops of Alfred Terry have promptly moved to regain the line. Our game will represent the Union counter attack against Hoke's Confederates. The objective for each side is possession of the picket line/rifle pits running from Dr. Howlett's house and to the south.
Special Rules:
1. Each side sets up 24” into the table. The Confederates may use the brigades of Kemper and Hoke to occupy the recently taken picket line. All other CSA units must observe the 24” set up rule.
2. There is a line of shallow “rifle pits” and hasty works along the creek that was created by the Union skirmish line
2. We will use a modified version of the Divisional Redeployment March (rule 14.16) as our Tactical March. Any BRIGADE may move 24” provided that they remain more than 24” away from ANY enemy unit for the entire move. The Marching Brigade must have all of its units in March Columns and on MOVE orders.
3. Skirmish lines MUST have a minimum of 3 inches between figure bases; otherwise it is counted as Extended Line. Exception: If a stand cannot sit on a terrain piece then it may be closer than 3 inches to an adjoining stand but it must be made clear of the intent. This rule is being enforced to maintain ground scale and spacing.
Terrain:
Woods – For sake of game play, all woods are considered light woods and are classed as DIFFICULT TERRAIN. Units in woods receive -2 Cover modifier when being fired upon.
Farms – The “field” part of the farms represents the farms in this game. The buildings are decorative and offer NO benefits. Any unit in the “field” receives a -1 Light Cover modifier to represent fences, farm buildings, and other “cover” in and around the farm. It costs 2” movement to enter or leave fields.
Hills – These hills are more representative of low rises in the terrain and do not cause movement penalty. The hills do block line of sight.
Wood Fences/Hedges – Provide -1 cover and is DIFFICULT TERRAIN to cross in either direction.
Picket Line – This chain of hasty works and rifle pits provides -2 Cover and is DIFFICULT TERRAIN to cross in either direction.
Creek - DIFFICULT TERRAIN. Provides not added cover. Infantry may cross and Artillery may cross if limbered.
Federal
Units
Tenth
Army Corps
First
Division
Brig.
Gen. Alfred H. Terry
|
First Brigade
Col. Joshua B. Howell |
||||
|
Unit
|
Size
|
Weapon
|
Morale
|
Skirmish
Rating
|
|
39th Ill.
|
20
|
RM
|
VETERAN
|
1st
Rate
|
|
62nd Oh.
|
20
|
RM
|
VETERAN
|
1st
Rate
|
|
67th Oh.
|
20
|
RM
|
VETERAN
|
1st
Rate
|
|
85th Pa.
|
20
|
RM
|
VETERAN
|
1st
Rate
|
|
86th Pa. (f) |
20
|
RM
|
VETERAN
|
1st
Rate
|
|
Second
Brigade Col Joseph R. Hawley |
||||
|
Unit
|
Size
|
Weapon
|
Morale
|
Skirmish
Rating
|
|
6th Conn.
|
20
|
RM
|
VETERAN
|
1st
Rate
|
|
7th Conn.
|
20
|
RM
|
VETERAN
|
1st
Rate
|
|
3rd N.H.
|
20
|
RM
|
VETERAN
|
1st
Rate
|
|
7th N.H.
|
20
|
RM
|
VETERAN
|
1st
Rate
|
|
8th N.H. (f) |
20
|
RM
|
VETERAN
|
1st
Rate
|
|
Third Brigade
Col. Harris M. Plaisted |
||||
|
Unit
|
Size
|
Weapon
|
Morale
|
Skirmish
Rating
|
|
10th Conn.
|
20
|
RM
|
VETERAN
|
1st
Rate
|
|
11th Me.
|
20
|
RM
|
VETERAN
|
1st
Rate
|
|
24th Mass.
|
20
|
RM
|
VETERAN
|
1st
Rate
|
|
100th N.Y. |
20
|
RM
|
VETERAN
|
1st
Rate
|
|
105th N.Y. (f) |
20
|
RM
|
VETERAN
|
1st
Rate
|
|
Artillery
|
||||
|
Unit
|
Size
|
Weapon
|
Morale
|
Class
|
|
1st Conn.
|
2 Guns |
10lb Parrot
|
VETERAN
|
RIFLE
|
|
5th N.J.
|
2 Guns |
12lb Napoleon |
VETERAN
|
SMOOTHBORE
|
|
M, 1st U.S.
|
2 Guns |
3” Rifle |
ELITE
|
RIFLE
|
-------------------------------------------------------------------------------------------------------------
Confederate
Troops
Hoke’s
Command
Maj.
Gen. Robert. F. Hoke
|
Corse’s
Brigade Brig. Gen. Montgomery D. Corse |
||||
|
Unit
|
Size
|
Weapon
|
Morale
|
Skirmish
Rating
|
|
15th Va.
|
20
|
RM
|
VETERAN
|
1st
Rate
|
|
17th Va.
|
20
|
RM
|
VETERAN
|
1st
Rate
|
|
29th Va.
|
20
|
RM
|
VETERAN
|
1st
Rate
|
|
30th Va.
|
20
|
RM
|
VETERAN
|
1st
Rate
|
|
Ransom’s
Brigade Brig. Gen. Matthew W. Ransom |
||||
|
Unit
|
Size
|
Weapon
|
Morale
|
Skirmish
Rating
|
|
24th N.C.
|
20
|
RM
|
VETERAN
|
1st
Rate
|
|
25th N.C. |
20
|
RM
|
VETERAN
|
1st
Rate
|
|
35th N.C.
|
20
|
RM
|
VETERAN
|
1st
Rate
|
|
56th N.C.
|
20
|
RM
|
VETERAN
|
1st
Rate
|
|
Kemper’s
Brigade Col. William R. Terry |
||||
|
Unit
|
Size
|
Weapon
|
Morale
|
Skirmish
Rating
|
|
1st Va.
|
20
|
RM
|
REGULAR
|
1st
Rate
|
|
11th Va.
|
20
|
RM
|
REGULAR
|
1st
Rate
|
|
Hoke’s
Brigade Col. William G. Lewis |
||||
|
Unit
|
Size
|
Weapon
|
Morale
|
Skirmish
Rating
|
|
6th N.C.
|
20
|
RM
|
VETERAN
|
1st
Rate
|
|
21st N.C.
|
20
|
RM
|
VETERAN
|
1st
Rate
|
|
54th N.C.
|
20
|
RM
|
VETERAN
|
1st
Rate
|
|
1st N.C.
Sharpshooter Btn. |
15
|
RM
|
VETERAN
|
Sharp
Shooter
|
|
Read's
Artillery Battalion
|
||||
|
Unit
|
Size
|
Weapon
|
Morale
|
Class
|
|
Richmond
Fayette Va. Art.
|
2 Guns |
12lb Napoleon |
VETERAN
|
SMOOTHBORE
|
|
Blount’s
Va. Bty.
|
2 Guns |
12lb Napoleon |
VETERAN
|
SMOOTHBORE
|
|
Hampden
Va. Art. and
Farquier Va.
Art.
|
3 Guns |
3”
Rifle/12lb Napoleon |
VETERAN
|
MIXED
|
 |
| General set up prior to battle |
Subscribe to:
Posts (Atom)